Emphasising aerial perspective
The challenge here is to emphasise aerial perspective in a landscape. I chose the following image – a desert landscape from the Sinai - as a starting point as it already has a strong sense of aerial perspective. It is a slight crop from the original to remove some rather unsightly road edging from the foreground. The background mountains clearly show the characteristic blue haze which adds to the perspective.
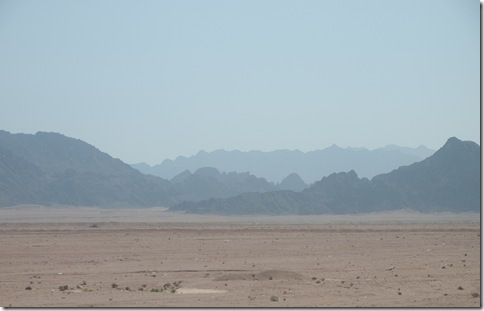
A default conversion, with all the colour channels set to zero looks as follows:
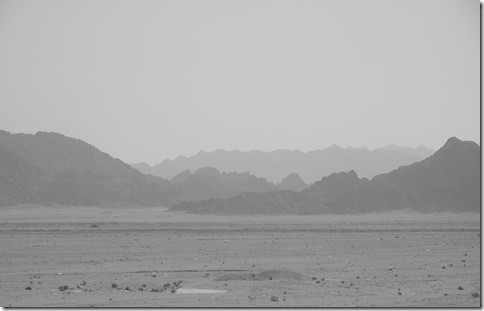
This is rather flat and un-interesting. Although there is some sense of distance, it is perhaps slightly less effective than the colour version, and there is little tonal difference between the foreground, the distant mountains and the sky.
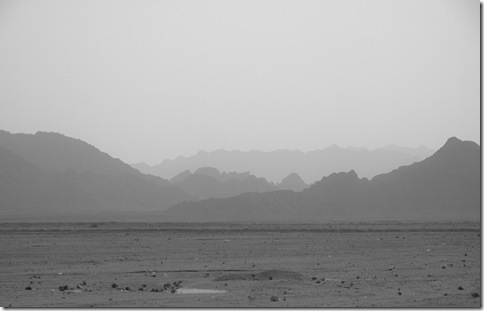
In his book ‘The Photographers Eye’, Michael Freeman suggests that favouring the blue channel during conversion emphasises aerial perspective (Chapter 2), so that was the starting point for the final conversion.
The overall conversion figures are as follows. I lifted the blue channel +75 and the Aqua channel +95, then I reduced the overall brightness of the picture by shifting the curve (-32 lights, –52, dark, –5 shadows) and darkened the sand still further (Orange –14, Yellow +7). Finally I softened the picture very slightly (clarity –6).
Conclusion
This treatment has had the visual effect of increasing the distance to the first mountains, by losing the clear join between sand and rock, and reducing the visible detail. By reducing the contrast between the sky and the distant mountains still further it has also made them appear more distant, increasing the apparent separation between the closest mountains and the others.
Lightening skin tones
The challenge in this case is to lighten the ski tones in a portrait without significantly altering the rest of the image. M y chosen image for this exercise is a grab shot of my daughter in a roadside cafe. the right hand side of her face is somewhat lost in the shadows caused by the relatively strong lighting from the left of the photo.
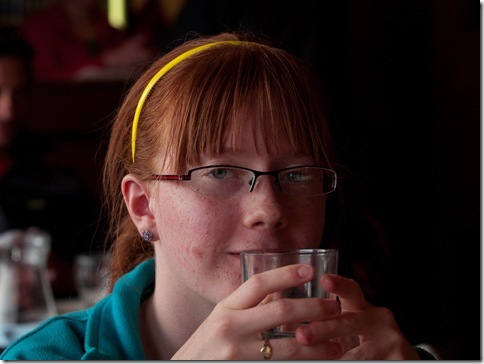
The default conversion gives this result, which increases the impact of the shadow even more.
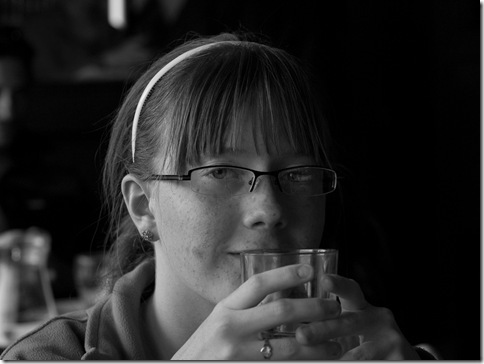
Examination of the picture shows that the skin tones are quite red/orange, so using the same principle as in the desert landscape, I started by lightening these colours to give the following (which has also had some noise reduction applied).
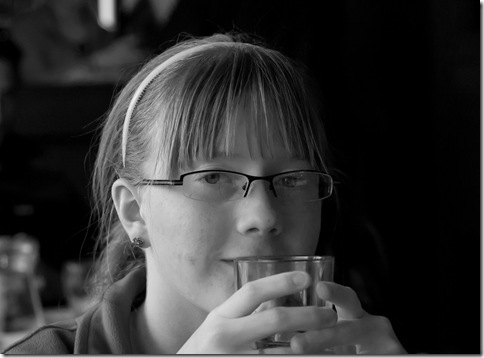
I felt at this stage that no further adjustment was required to meet the objective of the exercise – other than a slight softening by reducing clarity to –8. I cropped this final version slightly because I felt the ring was slightly distracting, and if I were printing it for display I would clone out the highlight on the top-edge and perhaps crop some more from the LHS.
Conclusion
A relatively simple set of adjustments has succeeded in lifting the portrait from the shadows in a way that would not be easily achievable in the colour version.


No comments:
Post a Comment